|
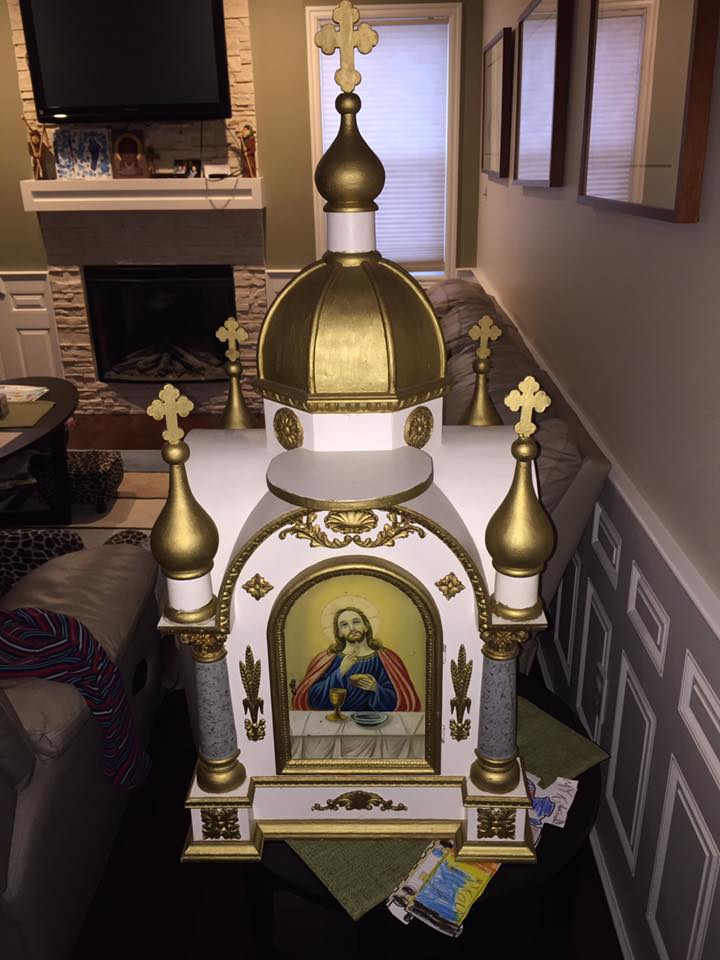
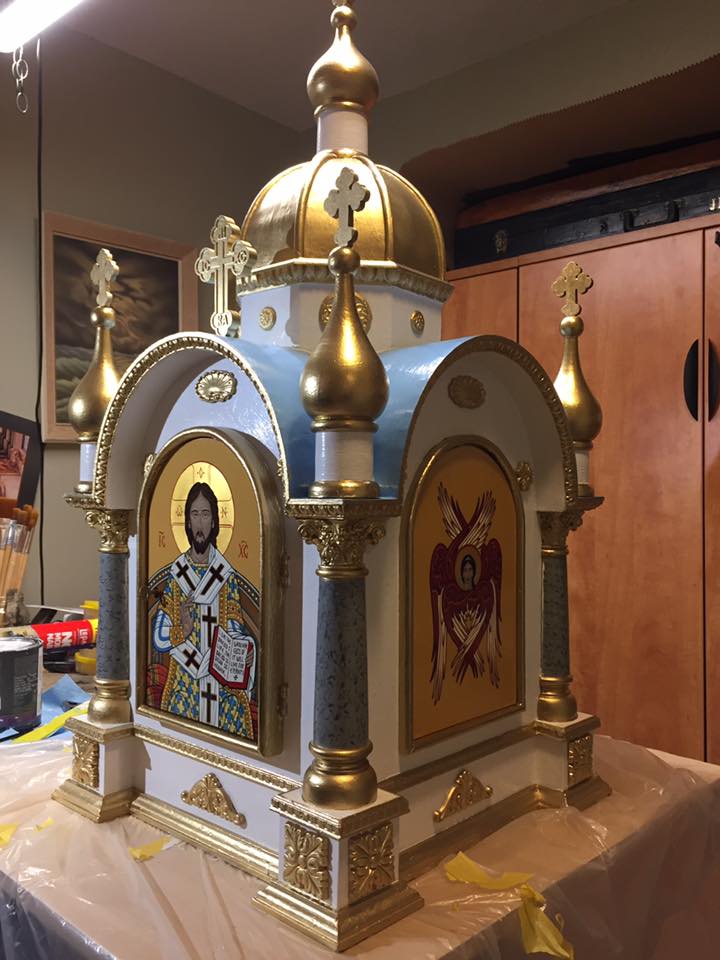
3/6/2017 Completed Icons It was great to see Father Jim's posting with pictures of the Tabernacle project for the Ukrainian Catholic Parish of St. John the Baptist in Lamont, Alberta. He included before and after restoration pictures. I love how he has done the restoration, with the colours that he has chosen. I am very grateful for having been invited to be part of this project, in writing the icons. It was especially pleasing to be part of an Alberta project once again. Pictures taken by Father Jim Nakonechny, Eclessia Design & Appraisals.
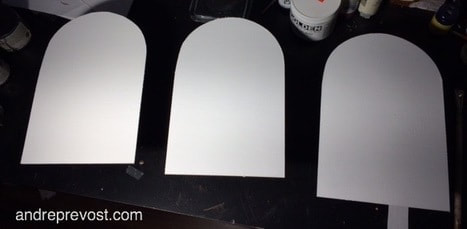
 1/7/2017 Each icon panel is 7.5" x 11.25" and were cut from templates for each niche within the four sides of the tabernacle. The icon of Christ will go in the front door of the tabernacle, which explains the slot for the keyhole. A Seraphim icon will go each of the other 3 sides. 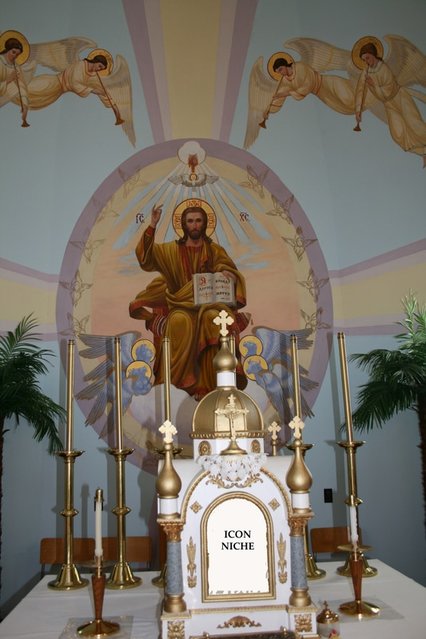  1/6/2017 The four small icons for the tabernacle in Alberta have been completed tonight and the first coat of varnish has been applied. The second coat will be applied first thing in the morning, and once that is dry, I will try getting some good pictures of them to post. They will be packed and shipped to Edmonton on Monday, Jan. 9th. 12/28/2016 The Icons for the Alberta Tabernacle are progressing. The haloes have been gold leafed and I continue with the multiple steps and layers of the numerous wing features etc. I concluded that the background colour for the icons was a touch too hot, especially with the general colour schemes of the church interior. I lightened the paint colour and it took almost 2 days to redo the background with 2 coats each (any of the paints in the yellow range are most translucent). I still have a way to go. The four icons will be going into existing niches: 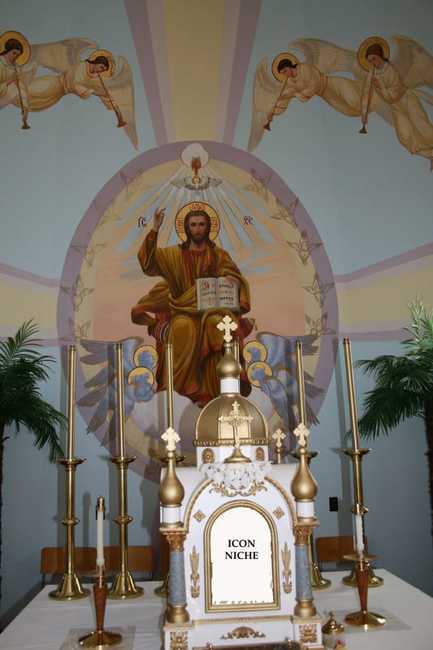 12/19/2016 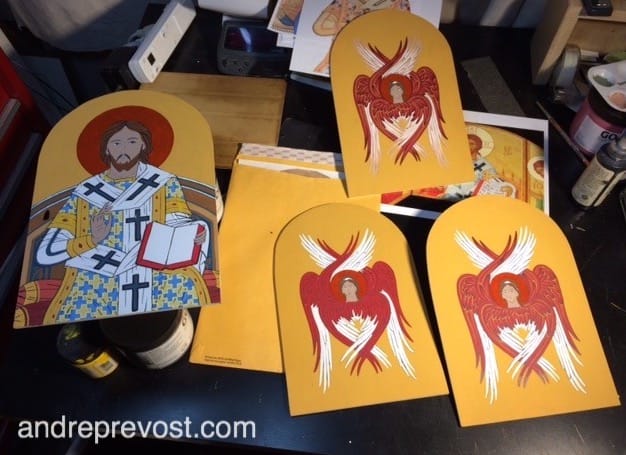 The key to iconography is patience. The Seraphim, although seemingly simple, become complex with the successive colours in developing the feathers. Then mulyitply that by 3 in this case.. There is still a long way to go. Once I get all three Seraphim to a similar stage, I can return to the icon of Christ to further develop the colours before beginning the shading and highlighting. I will need to gold leaf the haloes before I get too far along as I'll need to prepare the base (where you currently see the red basecoat on the halos. I need to do a bit of restoration on the paint immediately around the halo which can get scuffed a bit by the very fine sandpaper. Note: I do the faces and hands last. 12/14/2016 In spite of the heavy snow once again, I got to Nanaimo Monday morning in order to pick up the 4 cut panels for the Alberta commission. I was able to immediately work at adhering the muslin to the panels. I had pre-shrunk the mid-weight muslin in order to not create tension on the hardboard as it dried. I decided on using a heavier Muslin then I normally use in order to give the hardboard more stability. None pre-shrunk muslin can shrink a lot. In the picture below, there is a hole in one of the panels, for the keyhole in the front tabernacle door. There is a 4th panel not included in this photo. 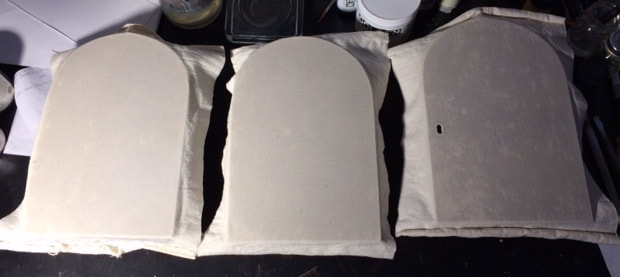 Once dried, I trimmed the excess muslin off and then began the gesso process" on Tuesday: First 3 coats of gesso √ First sanding √ Next 3 coats of Gesso √ Second sanding √ Gesso coats 6-9 and final sanding √
I then transferred the designs which I had already prepared before having the panels cut. The front icon will be of Christ and the other three icons for the sides and back of the tabernacle will be Seraphim. After transferring with graph paper, I started inking in each. 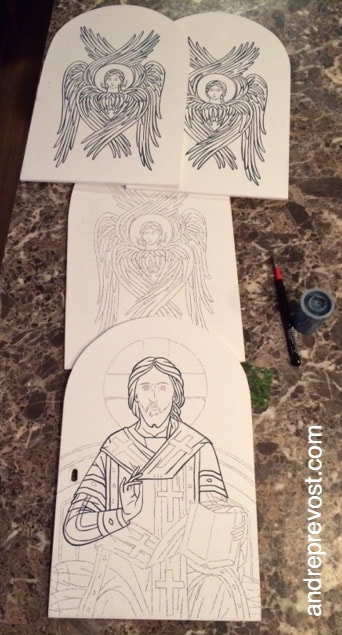 Today (Wednesday), I will be completing the inking and making adjustments to the icon of Christ - enlarging the open book to accommodate a larger inscription. After that, I will start blocking in the base colours and working out the balance between all 4 icons.
|
Archives
|

 RSS Feed