|
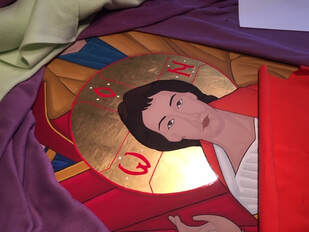
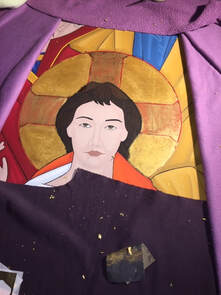
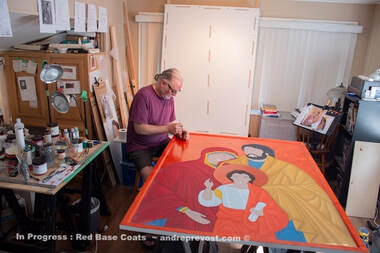
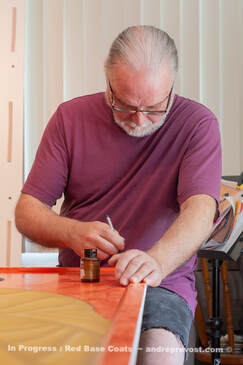
October 22, 2019: The Holy Family icon has been completed, and going out to Alberta on this Thursday. 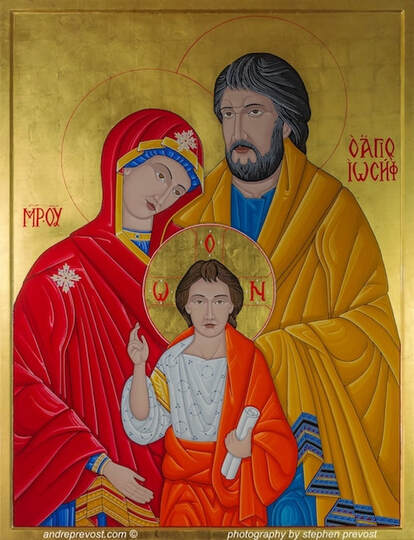 October 9, 2019: The cold weather has slowed down the progress on the icon, along with the extra hurdles that its size presents. For example, it was 0 C outside this morning, and my only heat source is a small space heater, which I turn on as soon as the day begins. It then takes a few hours to reach an indoor temperature in the studio that is manageable for painting. It does little for adding warmth in the rest of the mobile home. I will not be able to start using my small wood stove until this very large icon has been shipped out to Alberta. But in the meantime, with the space that the icon is taking, the wood stove is too close in proximity. Painting from the sides, while protecting the gold leaf, has its pros and cons. When it comes down to working on the faces, the icon will need to be set upright on its easel.  So naturally, I wasn't able to meet the original shipping option which takes place tomorrow. I've rearranged for its shipping on the next option of October 23rd. But with the shipping and completing the icon, I have a strategy set to account for size and weight of the icon, and the difficulty in moving it, let alone flipping it from front to back (while protecting the image and gold). So once the icon is completed and varnished, I will have one last thing to do, the final paint the seal the back of the icon. But before I can do that, I need to preset the sawhorses, supports, and wrapping in order to lower the icon face down. This way, once the icon's back has been painted (and monogram added), I can let it dry over a few days, without having to flip it again. Once it is fully dry, I can wrap the icon with the wrapping already under the icon. More details to come. September 25, 2019: The gold leafing process has taken so much longer then usual, thanks to the cooler weather. The gold size has been taking forever to set to tack, and unevenly so. One area could have reached tack and then you come across another spot where the size is still too wet. With the size of this icon, set on the 4 saw horses, I can't turn on the wood stove because of the close proximity of the icon and plastic sheeting. Besides, I can't risk the fire stirring up dust and ash which could set on the icon during the phases of gilding. 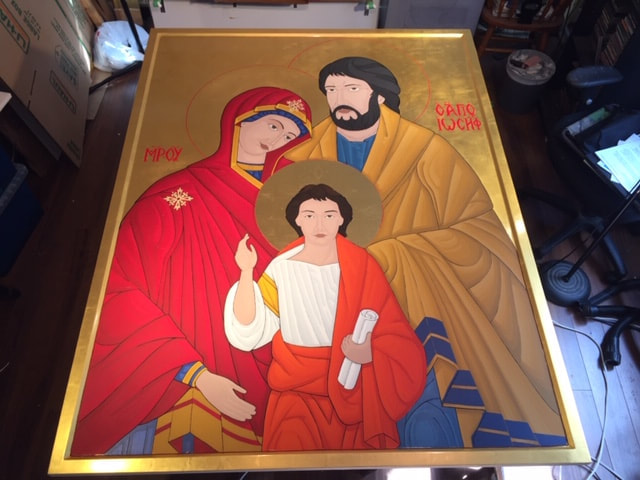 I wasn't happy with the results in Christ's halo, even after a second attempt. The size jyst wasn't cooperating. So I made the decision to sand the halo back down to the base coating, I added a small space heater under the icon for a day to help the remaining base and size to fully set in order to finish sanding with 1200 grit. I was then able to finish sanding and remove all grit, and started prepping for the 3rd application. But this time, with the help of the heater, I had to wait for 5.5 hours instead of the usual 3.5-4 hours before applying the gold. That was finally done yesterday, and waiting until today to redo the halo lines and inscriptions; very carefully as the gold leaf wasn't sealed yet.
I should be able to get back to writing the icon tomorrow, as I can work around the recent gilding of this halo. September 16, 2019: Pretty chilly in the studio today. The gold size will take longer to set to tack, before I can begin applying the gold leaf. I'll have to wait and see how the drying goes. The fingers are pretty raw from all the sanding. 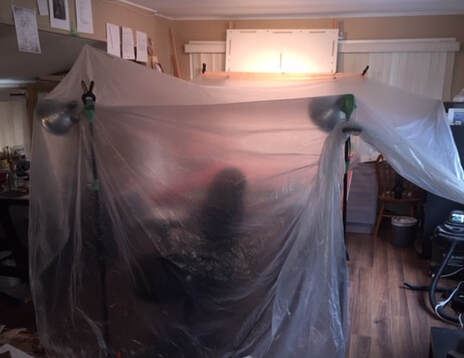 And again, I've had to set up the make shift plastic tent to protect against dust etc. from settling. I'll leave the tent up after the gold leaf has been applied, in order to not disturb anything while the gold sets. It also help dissuade our studio cat's curiosity (with such a large piece). Waiting for gold size to set in the cold reminds my of gold leafing the background of the Deesis Mural in Lloydminister AB in 1992. 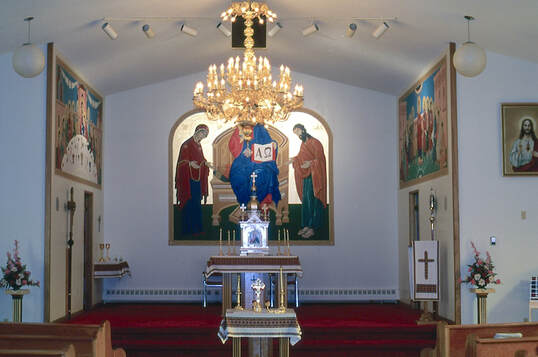 It was a cooler damp kind of day then as well. I applied the gold size and waited for tack by early evening. I waited and waited. Come 1:00 am, I had a decision to make: pack it in, let the gold size dry, and start again the next day or so, or, brace myself for working through the night to apply an already daunting amount of patent gold. I needed to avoid the domino effect of not getting the gold leafing done. I persevered and after more coffee, got the leaf done in the wee hours of the morning (then crashed on my air mattress). For this icon, the usual 4-hour wait would mean that I can begin the leafing around 6:00pm but with the cold, it will very likely be 7:00 - 8:00pm before i can actually begin, then work fast before the size becomes too dry. September 15, 2019: There have been numerous changes since the last journal entry, some may be hard to notice a decifer. 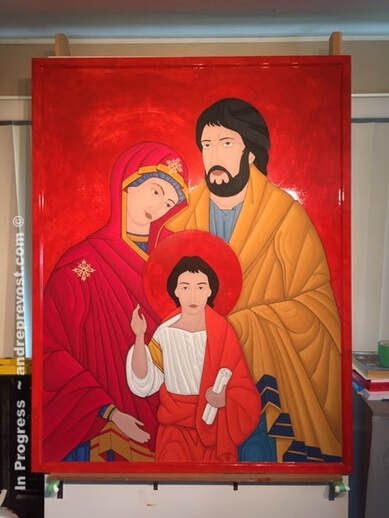 The weather has become colder and with much needed rain, but the dampness will slow down the gold leafing process. I don't have a functional furnace in the place, and the wood stove isn't an option when gold leafing, because of the dust and ash and uneven heating. At best, once the leaf has been applied, I can add a electric space heater under the icon to warm up the panel from behind. I decided that I needed to do the gold leafing stage now instead of later next week, given how long the first coat of gold size took to cure! What normally takes 4 days could easily stretch to a full week by the time, 1) the second coat of gold size reaches tack for applying the leaf, and after leafing 2) being set enough to paint in the halos and inscriptions, which needs to be done directly onto the leaf (while also being very careful of the leaf itself) 3) applying a coat of varnish sealer onto the gold 4) and letting the varnish and gold size under the leafing fully set and dry before it is safe to continue working on the image again. The icon has been set back on the sawhorses for this process, and will be staying as such until completion. Working on an icon laying flat greatly helps which finishing details and straight lines, although the faces will be a bit of a reach with this size of icon. One other hurdle that I had was finding a solution for yet another compass extender breaking while scribing the halo for the Theotokos. I had to restore the background and red base coat under the halo, but the main problem was that this type of extender had been discontinued. Time was spent searching online to find a solution for both stability and a larger radius. I ended up ordering a large 12" wing divider marking compass scriber a few weeks ago, and it finally arrived a few days ago.  Well, as much as my fingers dread it, it is time to take out the 1200 sandpaper and start sanding the red background and wipe all grit with a tack cloth. Some have asked why I don't use a sander, but this needs to be done by hand. September 4, 2019: Well, thanks to the heat and humidity in my studio, the drying and setting of the gold size is taking longer then I had hoped. It still isn't fully set but I will need to get the icon back on the lean-to easel by the end of the day. 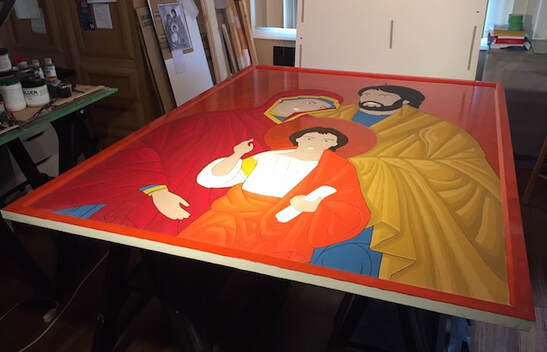 August 31, 2019: It was time to add the sealing coat of gold size on the red basecoat. It inevitably requires 3 - 4 days for it to fully cure before I can continue writing the icon. The longer it has to cure the better. When it comes time to do the final preparation to gold leaf, it provides a good hard surface for the leaf. 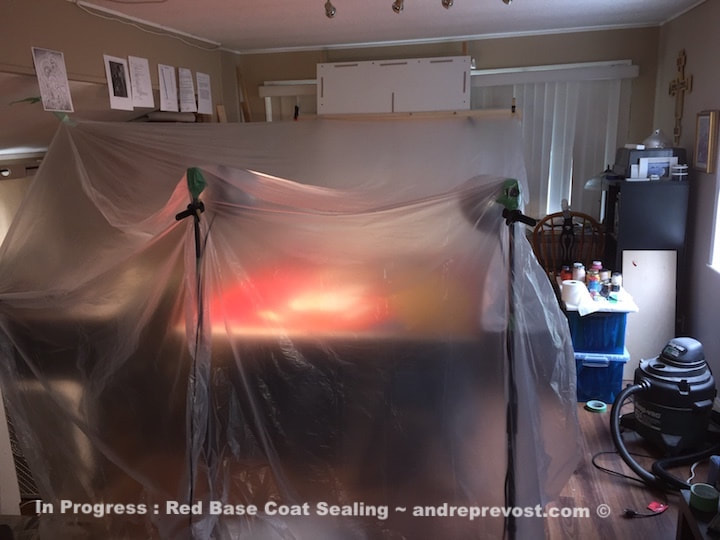 I have to set up a cover of sorts to control the air flow and any dust or pet hair from settling on the gold seal while setting. The icon set under the covering, with just enough work space for me to maneuver all around. Wearing a sweat band is essential in this process as, with the covering and control of air flow, I've created a dry sauna. 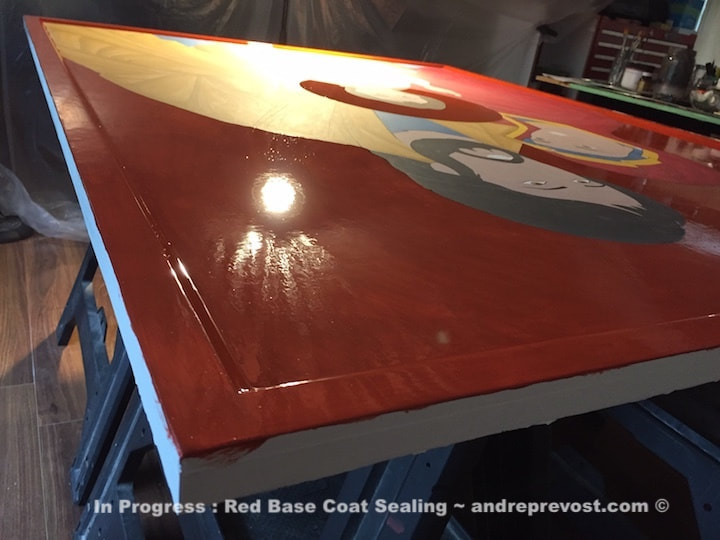 A shot of the icon after the gold size has been applied. It will remain tacky for days. The light source lets me know if there are spots that I've missed August 29, 2019: I needed to get the red basecoat started at this point. Besides getting it done and sealed, and giving it a few days to fully dry, it also gets rid of all the white.
August 22, 2019: Changes have been made within the design and base colours have been blocked in (adjusting the colours in relationship to the neighbouring colours). 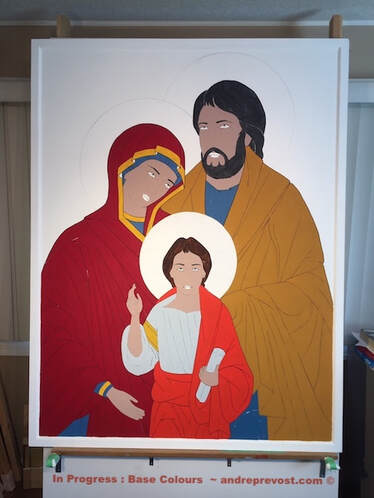 August 16, 2019: The initial transfer of the image and inking in has been done. I'm making adjustments along the way. 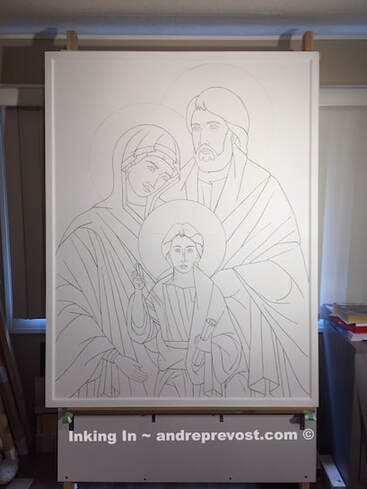 August 14, 2019: It has taken longer then projected to get to the stage of adhering the muslin to the panel. Once receiving the constructed panel, I had extensive wood filler to do to make all the inside frame edges flush with the panel. Once fully dry, I was then able to sand everything to a smooth finish, testing out the new sander and hose to my Shop Vac (and sparing my fingers a bit). I will need to do all the sanding indoors for this one as it is too large to haul out onto my porch for each phase. So far, there was no apparent dust in the air. Hopefully that will be the case with the gesso sanding. I recall with the original icon of the Holy Family in 2007, where it too had to be sanded indoors. Everything, including inside all the kitchen cabinets, was coating in gesso dust. 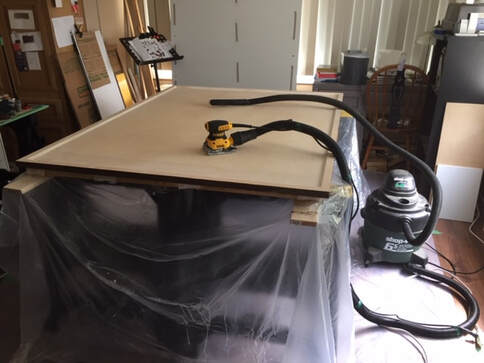 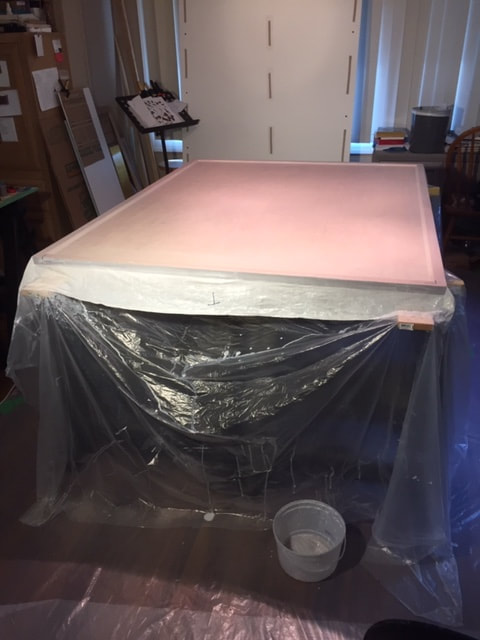 Now to wait for the acrylic medium to dry; checking for air pockets along the way. I will be able to trim the excess muslin and begin the initial coats of gesso. August 7, 2019: The the icon panel has been constructed and was delivered this evening. I had the lean-to easel all ready for it so that it can be immediately fully supported. I need a few days to let the Risen Christ icon set and then pack it up before I can begin the messy, dusty process of preparing this large Holy Family icon. 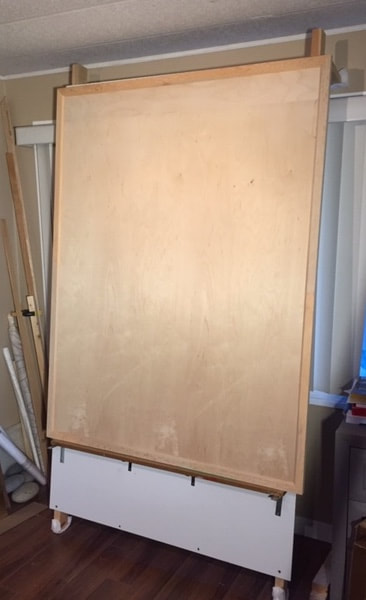 July 23, 2019: Occasionally, I get to use a design vellum from a previous commission as a reference. With this upcoming Holy Family icon commission, being based on the 2007 icon at St. Andrews Cathedral in Victoria BC, it had its own challenge. The size of the Victoria icon is 84" x 60", so my full scale design is much too big. I would need to transpose it to 65" x 50". As you can see, I had one wall where the original velum could fit. It clearly demonstrates that this original size was impossible in my current home studio. 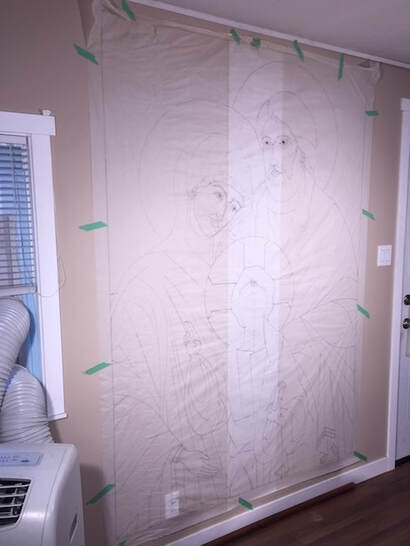 I took a few photos of it and downloaded the jpegs onto my computer. After some cropping and editing, I printed it. With the lines being so light in the picture, I needed to then draw them in on the print, in order to get a clear design pattern. Having that now, I can begin the Alberta icon based on the actual 2007 icon. July 11, 2019: In preparation for the arrival of the 65"x50" icon panel for this next icon, I've had to beef up a lean-to easel which I had been using to grid and transpose the icons for the St. Monica Church project. But with the weight of this next panel, being around 75 lbs, it needed more structure and hardware. I got this done the last 2 days, before i work at completing the Coast Salish Risen Christ icon, as I needed to have ready for panel whenever it arrives. 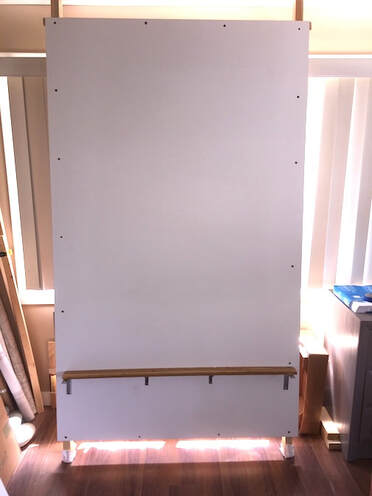 This icon has been commissioned by Holy Family Parish in St. Albert, AB. It will be based on the Holy Family icon which I wrote in 2007 for St. Andrew's Cathedral in Victoria BC. That icon is 84"x 60", but the size had to be reduced in order to accommodate my current studio. Holy Family Icon, St. Andrew's Cathedral, Victoria BC 2007
|
Archives
|
 RSS Feed